
Welcome to Teacher Tips, a blog series by Linda Detwiler, our customer success manager and chemistry & physics teacher. So many people loved our e-newsletters, that we moved the longer messages here to help even more teachers!
Dear Linda,
Do you use some of these to replace lecturing or in addition to? I guess I’m trying to picture what a typical 3-4 week unit would look like using Pivot labs as the introduction/”flipped” concept.
-Mike
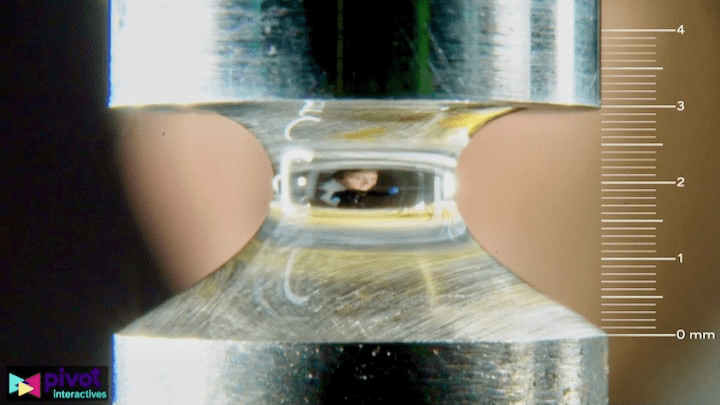
Through our Pivotal Teachers series, hopefully, you’re able to see how we use Pivot Interactives in the classroom. But, I wanted to take a moment to showcase how I have used the Intermolecular Forces and Surface Tension activity to start my IMFs unit.
Some things to note:
- I working on 50-minute classes.
- This is for an introductory chemistry class.
- This assumes all of the students are in person or all at home. You could do this hybrid too, but hybrid is a nightmare…
Day 1: (10 minutes) Introduce Part One of the Pivot on intermolecular forces and surface tension. Have the students make observations. Goal: why are the stretch values different? (They’re different substances.) What about different substances give them different properties? (Not looking for amazing answers here. This is our “Big Idea.”) Once you have done this, release students to work on Sections 2-3 with a partner using the Co-Lab feature. While the students are working, I’m circulating through the room asking questions about the IMFs as they learn them. Think of it like a “check for understanding.” If you want to get REALLY prescribed, have two to three questions primed that you ask EVERY partner group. Things like:
- Which of these three compounds would have the greatest London Dispersion Forces and why?
- Which one of these compounds would be capable of hydrogen bonding and why?
Check off the students name if they get it right and put an x next to their name if they get it wrong. Now you have quick and easy formative data!
Day 2: First part 3 (15 minutes-ish). Complete part 4 independently. You’ll need to separate this section out and assign it separately for students to have their own activity. This will be reviewed live in class the next day and treated as a quiz.

Day 3: Project the answers to Part 4 in Grade by Question mode with “grade anonymously” checked. Grade these with the students present. Discuss the common misconceptions that you see. Make a list of misconceptions and corrections on the board for the students to serve as their notes.
Day 4: Split the students based on their scores on the Part 4:
- Students who were SUCCESSFUL — make an infographic on the chemical properties impacted by IMFs and how those IMFs impact the property. (For example, as IMFs increase, what happens to the boiling point?) Work independently to upload these to Google Classroom.
- STRUGGLERS: do a series of Quizizz or Kahoot games with me (1st/2nd/3rd place of each round gets points added back to the Part 4 quiz). Use these questions as a way to find additional pitfalls in the learning. As we work through the games, the students will make a mindmap or take some form of written notes for their learning.
Day 5: Gallery walk the infographics from the successes. Have the students key in on the information about melting point. Split the students into small groups (2-4, size pending):
- We are going to observe the melting point of four different solids. Which one do you think will melt first?
- Read this article about melting points, then observe the structures of the four solids. List the IMFs present in each solid and rank them based on those IMFs. Write a predicting in which you explain which will melt first and why you think that, then write a procedure to test the melting point of the solids. We will run that test tomorrow!
Day 6: Use their procedures to test the melting points of the four solids. (They all melt under 100 C, so… for that set up: place a uniform sample (about 3 g) of each solid in a test tube that rests in a bath of warm. Watch the samples as they are heated in the water bath. Use the temp of the water bath to estimate the melting point. Heat it slowly on med-low until all four samples melt.) Use their observations to justify their predictions.
Day 7: Review IMFs with some review activity of your choosing. Help students finish the lab.
Day 8: Assess. Here’s my old assessment on IMFs. You could also use this assessment from the community library.
A Well-Balanced Unit Plan
Notice that I don’t use Pivot for everything. It’s about 1/3 of my overall unit. I still do in person labs, though I could use a Pivot Activity as my lab notebook just to make grading easier. Some of these activities lend themselves better to offline interactives. Some are best online. There reason is a host of different reasons why you may want to do online or in-person.
In this lesson, I’m using the activity to pave the learning pathway. It replaced my lecture and served to provide the bulk of the material. My job is to fix the “potholes.” I go through and correct mistakes along the way. That’s it. I let students learn and explore and discover as much on their own as I can, while guiding them to a full understanding.
Interested in more examples on integrating Pivot Interactives in your classroom? Read how Biology Teacher, David Madden (of Madden Science), uses Pivot Interactives to support hands-on learning with microscopy!